As homeowners increasingly seek ways to reduce energy costs and embrace sustainability, DIY solar panel installation has emerged as an attractive option. Not only does it offer the opportunity to lower electricity bills, but it also empowers individuals to take control of their energy consumption while contributing to environmental preservation. With advancements in solar technology and a growing number of accessible resources, installing solar panels has become more feasible for the average homeowner. Whether you’re a seasoned DIY enthusiast or a first-time installer, understanding the basics of solar panel installation can help you make informed decisions and avoid common pitfalls.
This guide will walk you through the essential steps of DIY solar panel installation, from evaluating your roof to connecting the system to your home’s electrical network. It’s designed to be comprehensive yet straightforward, ensuring you have all the information you need to safely and effectively install your own solar system. By following these steps, you can reduce your carbon footprint, lower energy costs, and enjoy the satisfaction of powering your home with renewable energy. Let’s dive into the process and explore how you can create an energy-efficient home with solar power.
Why Consider DIY Solar Panel Installation?
Before diving into the installation process, it’s essential to understand why DIY solar panel installation can be a great option. For many homeowners, the primary motivation is to reduce energy costs. According to the U.S. Department of Energy, solar panels can reduce electricity bills by up to 70%. Additionally, by installing the panels yourself, you can significantly cut down on labor costs, which can make up a large portion of the overall installation expense.
Furthermore, DIY installation allows you to learn more about renewable energy systems, offering a sense of accomplishment and independence. It also gives you the flexibility to design your system based on your unique energy needs and preferences. That said, DIY solar panel installation is not for everyone—it requires technical knowledge, proper planning, and time commitment.
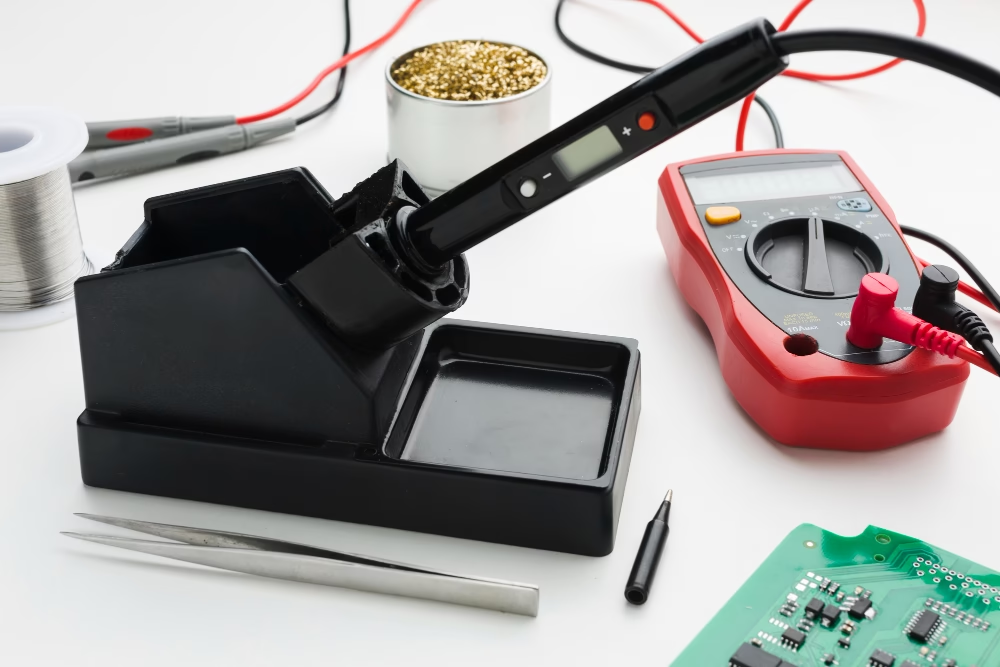
Necessary Tools and Materials for Installation
Before getting started, it’s important to gather all the necessary tools and materials. While the exact requirements will vary depending on your system’s size and complexity, here’s a list of the essential items:
- Solar Panels: Choose panels that suit your energy needs. The most common types are monocrystalline, polycrystalline, and thin-film.
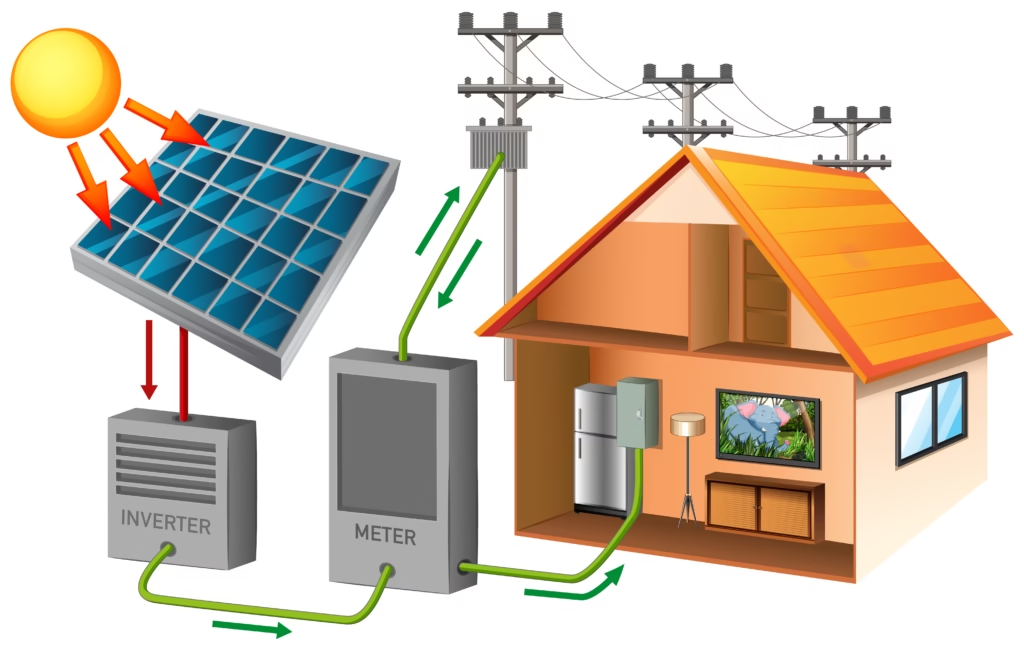
- Inverter: This device converts the DC (direct current) electricity produced by the solar panels into AC (alternating current) electricity used in your home.
- Mounting System: A mounting kit includes racks, rails, and brackets to secure the solar panels to your roof.
- Wiring and Connectors: Ensure you have the proper wiring and connectors to connect the panels to the inverter and electrical system.
- Battery Storage (optional): If you want to store excess energy for use during non-sunny periods, a battery storage system is needed.
- Drill, Wrenches, and Screwdrivers: These tools will be required to attach the mounting system to your roof and secure the panels.
By ensuring you have all the necessary materials and tools beforehand, you can avoid interruptions during the installation process.
Step 1: Evaluate Your Roof and Location
The first step in installing solar panels is evaluating your roof and location to ensure that it is suitable for solar installation. Some key factors to consider include:
Roof Condition and Angle
Ensure that your roof is in good condition, as installing solar panels requires long-term durability. If your roof needs repairs, it’s better to fix it before installation. Additionally, check the roof’s angle. Solar panels are most effective when installed on south-facing roofs with a slope of 15 to 40 degrees, as they capture the maximum amount of sunlight.
Sunlight Exposure
Check the amount of sunlight your roof receives throughout the day. Ideally, your roof should be free of obstructions such as trees or buildings that could block sunlight. Use online tools like Google’s Project Sunroof to estimate your roof’s solar potential based on geographic location and shading patterns.
Roof Size
Ensure that your roof has enough space for the number of panels you plan to install. For example, a typical 5 kW solar system requires about 300-350 square feet of space. If your roof is smaller, you may need to consider a more compact system.
Step 2: Determine the Size of Your Solar System
Next, determine the size of the solar panel system you need based on your household’s energy consumption. To do this, review your past utility bills to find out how many kilowatt-hours (kWh) of electricity you use on average each month.
Energy Needs Calculation
Once you know your monthly energy consumption, you can calculate the size of the system required. For example, if your home uses 800 kWh per month, you can install a system that generates approximately the same amount of energy. Keep in mind that factors like weather and panel efficiency can affect energy production, so it’s always a good idea to overestimate a bit to ensure you meet your energy needs.
A general rule of thumb is that 1 kilowatt of solar panels generates approximately 1,200 kWh of electricity per year. Therefore, for an 800 kWh/month usage, you may need a 6.5 kW solar panel system.
Step 3: Install the Mounting System
Once you’ve chosen the panels and determined the location, the next step is to install the mounting system. The mounting system supports the solar panels and ensures they are securely fastened to your roof. Here’s how to proceed:
- Mark the Locations: Using a measuring tape, mark where the rails will be installed on the roof. Ensure that the rails are aligned properly to prevent the panels from being installed unevenly.
- Drill Holes for Mounting Brackets: Drill holes into the roof where the brackets will be placed. Use proper sealing methods to prevent leaks, such as using roofing sealant around the holes.
- Install the Rails: Once the holes are drilled, attach the mounting rails to the roof using bolts or screws. Double-check to ensure the rails are secure and level before proceeding.
This step requires precision to ensure that the panels are installed securely and aligned properly.

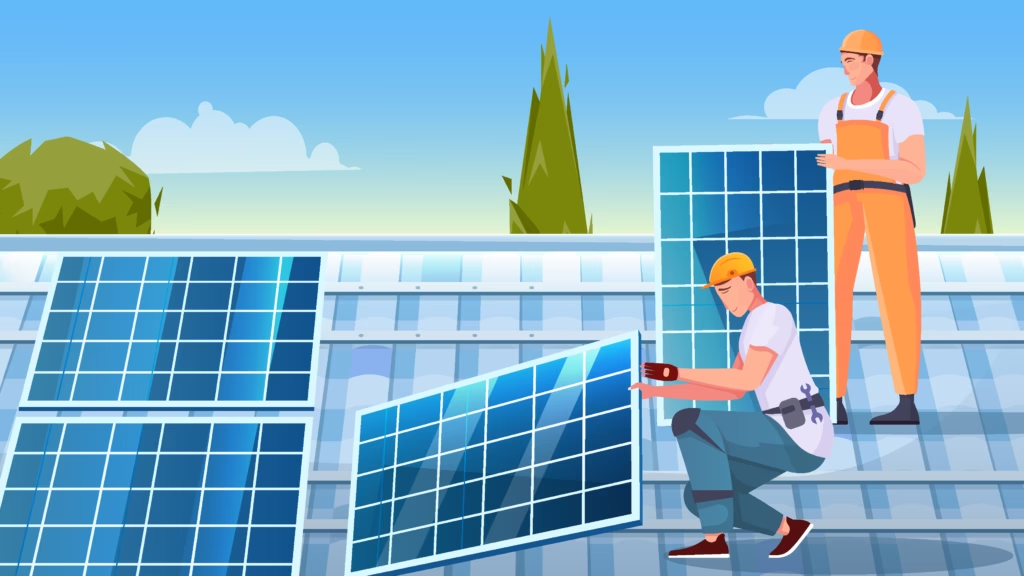
Step 4: Connect the Solar Panels
With the mounting system in place, the next step is to install the solar panels and connect them. This step involves wiring the panels together to form a series that will be connected to the inverter.
- Position the Panels: Place each solar panel onto the mounted rails. Ensure they are aligned correctly to maximize efficiency.
- Secure the Panels: Once the panels are in place, secure them to the rails using mounting brackets. Double-check all connections to ensure they are tightly secured.
- Wire the Panels: Connect the solar panels in series, ensuring the positive and negative terminals are properly aligned. Use weatherproof connectors and electrical tape to secure the connections.
This step may require two people to lift and position the panels safely, so be sure to have assistance if necessary.
Step 5: Install the Inverter
Once the panels are connected, it’s time to install the inverter. The inverter will convert the DC power produced by the panels into usable AC power. Here’s how to install the inverter:
- Choose an Appropriate Location: The inverter should be installed in a cool, dry location close to the electrical panel. It’s typically mounted on an exterior wall near the main electrical panel.
- Wiring the Inverter: Connect the wiring from the solar panel array to the inverter. Most inverters will have clearly labeled terminals to guide you through this process.
- Connect to Electrical Panel: Finally, the inverter needs to be connected to your home’s electrical system. This step is critical and may require professional assistance to ensure the wiring meets local electrical codes and safety standards.
Step 6: Testing and Monitoring
After everything is connected, it’s time to test the system. Turn on the inverter and ensure that the solar system is generating power. Most inverters will have a display that shows real-time data on power generation.
You may also want to install a monitoring system that allows you to track the performance of your solar panels. This will help you keep track of how much energy is being produced and whether there are any issues with the system that need attention.
Step 7: Finalizing and Maintenance
Finally, perform a thorough inspection of your solar panel system to ensure that all connections are secure and that there are no issues with the installation. It’s also important to conduct regular maintenance, such as cleaning the panels, checking for debris, and inspecting the wiring for wear and tear.
By keeping your system well-maintained, you can ensure it operates efficiently for years to come.
Writer’s Thoughts
Installing solar panels yourself is an excellent way to reduce energy costs and contribute to environmental sustainability. While it requires careful planning and attention to detail, DIY solar panel installation can be a rewarding experience. By following this guide, you can install a system that meets your energy needs, saves you money, and reduces your carbon footprint. As solar technology continues to advance, DIY installations will become even more accessible, allowing homeowners to take advantage of renewable energy in a way that suits their budget and lifestyle.
We’d love to hear about your DIY solar panel installation experience! Feel free to share your thoughts, questions, or tips in the comments below and join the conversation.